Picture books evoke emotions. When I picked out the books I wanted to use for our World War 1 unit for our week of funschooling history lessons, I picked out a book called “Midnight,” it was about a horse. I knew Princess would love this book.

And then I read Midnight, and I knew it was going to be hard for her. It was all about the man raising the horse, and taking it with him to war, and it ends with the horse dying, or it’s strongly implied the horse dies.

I strongly debated if I should still use Midnight for our World War 1 unit, but decided she had the emotional maturity to handle this, and I wanted them to learn this is the reality of war, people and animals die.
(This post contains affiliate links)
With that being said, I present:
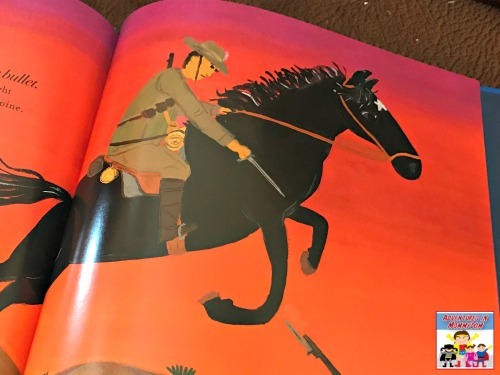
Our inspiration book for the World War 1 soldier hat

Midnight is the story of a cowboy in Australia who raises Midnight from a foal and trains her. Their bond is amazing. When World War 1 breaks out, like many other patriotic Australians he volunteered to serve and brought his faithful friend and horse over with him. They survive many battles together, but tragedy strikes on the fields of Gallipoli (also seen in our World War 1 nursing activity).
Making a World War 1 soldier hat

After reading Midnight*, we took a minute to read more about the actual people and events that inspired this book. Then we looked at the uniforms they wore, and how everyone wore helmets. Finally, I had the kids all grab a doll they wanted to make a World War 1 soldier helmet for.
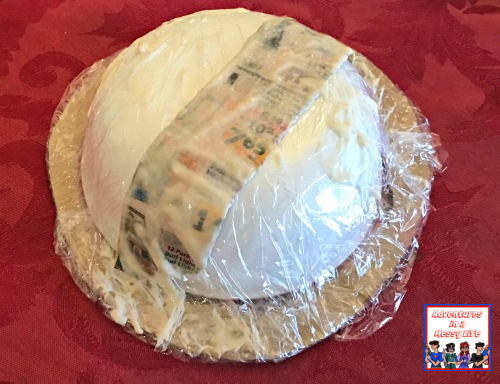
Now that we were all equipped with our dolls, we went through our cabinets and found bowls that fit the doll’s head. It took a bit of looking around, we used some of the bowls from our dishes set* (I wish mine were this pattern), and a prep bowl*.

Then we got some cardboard and traced around the bowl. After taking away the bowl we drew a second larger circle. This became the brim of the bowl.
Then I made a mistake, for some reason I was thinking we needed to trim out the cardboard, so we could get into the bowl, that was stupid, and I added a ridiculously annoying extra step.
So, don’t do that.

Cover your cardboard/bowl combo with saran wrap, this is to ensure you don’t ruin your bowl or anything. This step is a little difficult for kids, and so I did it for them.
Now make your paper mache, we used the simple recipe of 1 cup of water to 1 cup of flour, and stirred it altogether with my whisk, I really think a spoon would have worked better.

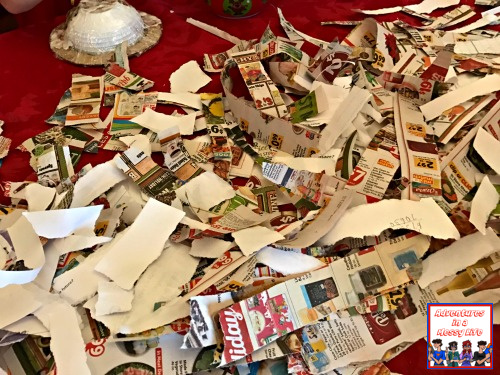
While you are mixing the paste, have the kids tear paper into small pieces, we tore them into pieces about 1 inches by 4 inches. The kids had a lot of fun doing this.

If you haven’t done paper mache before, I’ve found it works best to dip the paper in, and squeeze off the majority of the paste after you take it out.
Yes you will get messy, very messy.
We covered our hats with about one layer, and then left it alone for an hour or so, and came back to add another layer, and we ended up with about 4 layers total. Make sure as you add the layers, you smooth out your paper, so there are no wrinkles or bubbles (this is the main reason for the smaller pieces).
I’d like to point out we actually finished a project that requires leaving the project and coming back to it over several days/hours. The last time we did that was the chicken mummy.
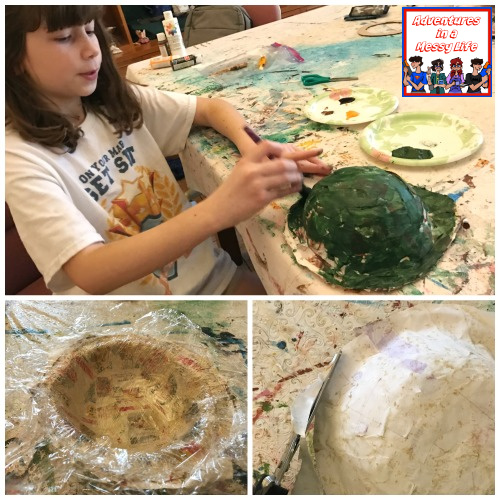
Wait for two LONG days for your World War 1 soldier hats to dry. An ETERNITY. Once it’s dry, carefully peel your paper mache hat off the bowl/cardboard structure. It should be pretty dry, inside and out if you don’t have too much extra paste. My kids did, but it turned out okay.
Trim around the outside edge, so it’s not ragged or weird looking.

Paint your hat, grab that olive green acrylic paint and a paintbrush (my kids all swore by foam brushes, I used a flat brush) and have at it. This is slightly less messy than the other step, but anything that gets in the wrong place is much more permanent.
Then watch your kids happily abscond with the dolls, and head upstairs to set up a giant scenario for World War 1. Come back tomorrow to see our World War 1 nurses’ hat, and the super fun World War 1 chaos that ensued after (is it wrong to say World War 1 fun?).

More history ideas

If only my kids didn’t hate paper mache. .. They look really good.
Thanks! This is the first time paper mache was successful in my home. Though Batman did get some kind of plaster thing that was just dip in water and harden that reminded me of cast material that your kids might like.
This is assuming your kids’ dislike is due to the mess factor.
How totally cool! There are so few hands-on activities for modern history, and this one can help students to re-enact battles.
I know! It’s really hard to come up with good ideas that are age appropriate. I know of some that are great for teens, but would be terrible for little kids.
Impressive! I actually thought originally looking at the pictures that you simply used a paper soup bowl, but you went a lot more involved than that!
I totally didn’t think of using a soup bowl. That would have been easier.